


 and How Much Does a BBL Cost?")


Table of Contents
This article will provide an overview of roofing underlayment, discuss the different types of underlayment available, explain the benefits and advantages of using underlayment, and provide a step-by-step guide to installing it. Roofing underlayment is a critical component to extending the life and performance of any roof system, so understanding its function and how to install it properly can save you time and money in the long run.
What Is Roof Underlayment?
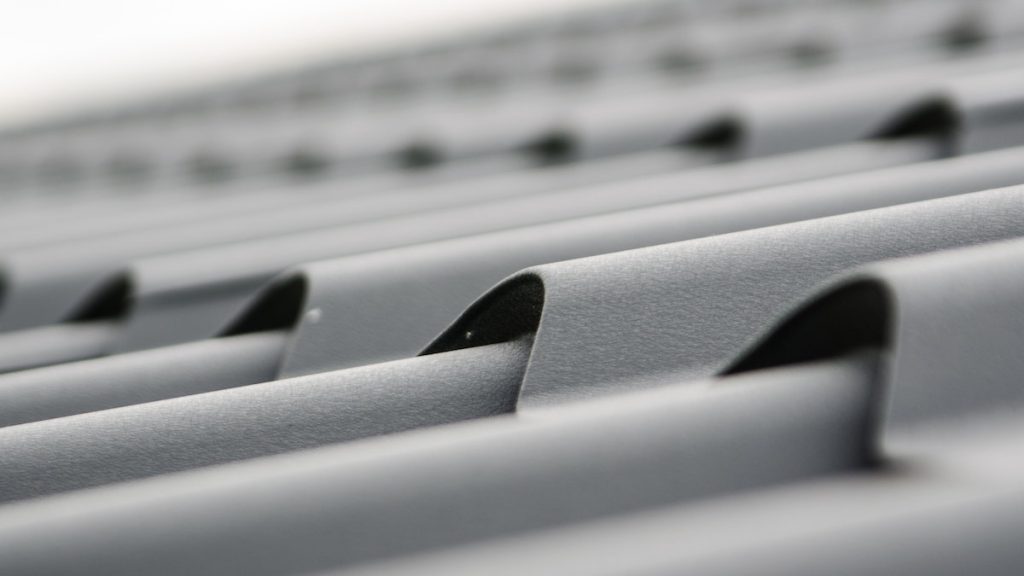
Roof underlayment is a layer of material that lies underneath your main roof covering (shingles/tiles). It’s typically made up of polyester or fiberglass fabrics but may also use natural materials such as cedar shakes or asphalt felt. Underlayment provides a protective barrier between the roof and the home exterior, shielding it from potential moisture damage, wind-driven rain, and extreme temperatures. It also helps to provide additional insulation to improve energy efficiency and protect against condensation.
Types of Roofing Underlayment
There are three primary types of underlayment available: synthetic, organic (felt), and self-adhering membrane.
#1: Synthetic Underlayment
This type of underlayment is made of plastic or rubber materials and offers the highest level of protection against water damage and wind-driven rain. It’s also lightweight, easy to install, provides effective moisture management, and is available in both rolls and sheets.
#2: Organic (Felt) Underlayment
Felt underlayment is made of asphalt-saturated paper that’s waterproofed with tar. It’s thicker than synthetic varieties but tends to be more expensive as well. Felt underlayment comes in two types – organic felt and fiberglass felt – with the latter providing better resistance to fire as opposed to organic felt.
#3: Self-Adhering Membrane Underlayment
Self-adhering membrane underlayment consists of a rubberized asphalt layer that is self-sealing and provides superior protection against wind-driven rain. It’s also easy to install and provides optimal insulation.
Benefits of Using Roofing Underlayment
There are many benefits to using underlayment, including the following:
- Increased energy efficiency – The additional layer of insulation provided by roof underlayment can help minimize heat loss in the winter and cool air loss in the summer, resulting in lower utility bills.
- Reduced moisture damage – Properly installed roof underlayment acts as an extra barrier against water seepage, helping to protect your home’s structure from potential water damage.
- Improved wind resistance – Strong winds can lift and peel off shingles, but with the added protection of underlayment, you can be assured that your roof will remain intact in even the strongest of storms.
- Enhanced safety – The extra layer of insulation provided by roof underlayment helps to insulate your home against fire as well as sound. This means peace of mind knowing that your family is protected in case of an emergency.
How to Install Roof Underlayment?
Installing roofing underlayment is a relatively simple process and should only take a few hours to complete depending on the size and type of the job. Here are some step-by-step instructions to help you get started.
Step 1 – Prepare the Roof
Before installing the underlayment, make sure that the surface is clean and free of any debris or objects that could cause damage to the material. Also, check for any existing signs of water damage, such as mold and mildew, and make necessary repairs before proceeding.
Step 2 – Install the Starter Course
When laying out the underlayment, start by installing a starter course along the eaves (lowest edge) of your roof. Make sure to overlap each row by at least 4 inches when applying the material in order to ensure proper coverage.
Step 3 – Apply Underlayment Material
Once the starter course is installed, add additional layers of underlayment to cover the entire roof, overlapping each row by at least 4 inches. Be sure to use a utility knife or other sharp tool to cut the material as needed in order to fit around corners and edges.
Step 4 – Secure with Fasteners
For added protection, use plastic-cap fasteners to secure the underlayment in place. Make sure that you install all fastener caps with their heads facing upward in order to prevent water from entering underneath them.
Step 5 – Install the Final Course
Finally, install a final course along the ridge (highest edge) of your roof and secure it with plastic-cap fasteners. Once this is done, your roof is ready for shingles or tiles.
Installing roofing underlayment is an important step in protecting your home from the elements and can help increase energy efficiency as well. With the right tools and instructions, you can easily get the job done yourself or hire a professional like Mighty Dog Roofing, check them out here. Keeping these steps in mind will ensure that your roof is properly protected and ready to handle whatever Mother Nature throws its way.


